
Wednesday, January 14, 2026
Assignment 1: Blindfold Drawing Assignment (Drawing Studio 2 - Winter 2026)

Blindfold Drawing Assignment -
Text & Examples of Work
Supplies Required:
• White or off-white paper 18 x 24 inches minimum in size, 3-4 sheets
of drawing paper (white cartridge paper is suggested but it is only one
option in terms of white or off-white paper).
• Some sort of blindfold (or anything that will completely block your
• Some sort of blindfold (or anything that will completely block your
eyesight from viewing your drawing while you draw)
• Chalk or Oil pastels (preferably oil pastel – if using oil pastel you
will need something to scrape and scratch the oil pastel away)
• Charcoal material
• Rubber Eraser for subtracting chalk pastel, charcoal, chalk line
dust, or graphite powder. As well pencils, markers, and coloured pencils
• Stencils and Templates (as shown in class and also see below at the bottom of this post):
An assortment of organic and geometric stencils and templates at
various scales should be used to maximize the shape variations and
compositions in your drawings. Masking tape could also be incorporated as part of your template/stencils.
Variation of Scale: Some stencils/templates should be considerably
larger than your hand (30% the size of your paper) while others
may be same size and smaller than your hand.
Making Stencils: To make stencils: cut out (or tear) shapes in
materials such as paper and or cardboard (the shaped hole in the
material is the stencil, the shape removed from the material to
create the shaped hole is the template). Generally thicker paper or
cardboard would be the best material to use. Geometric shapes
may include squares, rectangles, circles and triangles and a
combination of those shapes. As well organic shapes may include
blob shapes and/or bean shapes and/or asymmetrical clover
shapes. Or you may find some ready made stencils or templates
that are purely abstract. The more ambiguous and abstract the
stencil is the more successful your drawing will be in reaching
the assignment objectives.
Process with Stencils: As you draw blind folded you will feel each
cut out stencil and template to trace and layer shapes in your
drawing using an additive and subtractive process.
• (Optional) Chalk Line or Graphite Powder – if you use either of
these mediums bring a dust mask.
Student Examples (see images below) and Historical Reference:
Further explanations will be given in class. Some
examples of previous students work (are posted below)
Here are also some historical examples related to the assignment by
Robert Morris’s Blind Time Drawings
(Began series Circa 1970s).
Purpose of Assignment:
• Increase the awareness of other senses. In particular focuses on the sense of; touch, the variety of pressures applied to
drawing tools, and the emphasized awareness of arm, hand and finger movements while drawing.
• Considering composition and thicker layering of materials through touch and memory. Feel where the borders of where the drawing paper is before beginning drawing and through the drawing process recheck where the borders are to get reacquainted where the paper is located so there is a rough idea about composition. As the drawing progresses, try to remember the location of where the work has drawing layers and always feel where there is significant amounts of layering of drawing materials on the surface.
• Becoming aware of one’s own body in relation to drawing.
• Becoming sensitized to the physicality of drawing mediums and to the
physical variations of the layers in a drawing. (mark making, texture, thickness of art materials)
• Allow chance to take place and letting unexpected accidents to happen. This will give new ways of approaching drawing when considering formal issues of abstraction. Overall this is opening up the possibility for intuition and instincts to play a greater role in the drawing process.
• Offer students a variety of options/alternatives to their usual system of drawing and to traditional methods of drawing.
Evaluation (Formalism) Criteria:
40% for the following:
Variation of interesting stencil and template shapes (organic and geometric, different sizes)
Variation of drawing materials (Focus on pastels, but also think of other art materials as well)
40% for the following:
Maximized layering process in major parts of drawing
Physical presence of materials on surface (Layer drawing materials thickly in some areas of drawing)
Variation of mark making and physical textures (organic and straight, short and long, etc)
Variation of Line and Shapes (this is connected to variation of stencils/templates and mark making)
20% for the following:
Experimentation and innovation
Overall uniqueness
Homework for Next Class
(After Blindfold Drawing class has occurred):
Homework 1) Edit only 1 Blindfold drawing without your blindfold (Due when submitting blindfold drawings for evaluation on portfolio submission day) Keep track of the 1 blindfold drawing you edited without the blindfold. When the 1 edited Blindfold drawing without the blindfold is submitted for evaluation indicate "Edited Version" on the file name.
Homework 2) Start Modernist Assignment (Assignment 2) You should come to class with the assignment substantially started. Remember this assignment is large and you need to get a head start on it! Work in progress Due for 3rd class!
http://derekbruecknercourseinformation.blogspot.com/2023/01/assignment-2-modernist-assignment.html
Examples of Stencils & Templates:
Here are some examples below of stencils and templates cut into 2 -dimensional geometric shapes most of these examples below are not symmetrical (that is good!). This assignment requires both organic shapes and geometric shapes designed in your stencils and templates. Do not fuss with making the stencils and templates, just make sure you have a variety of organic and geometric shapes at various sizes.


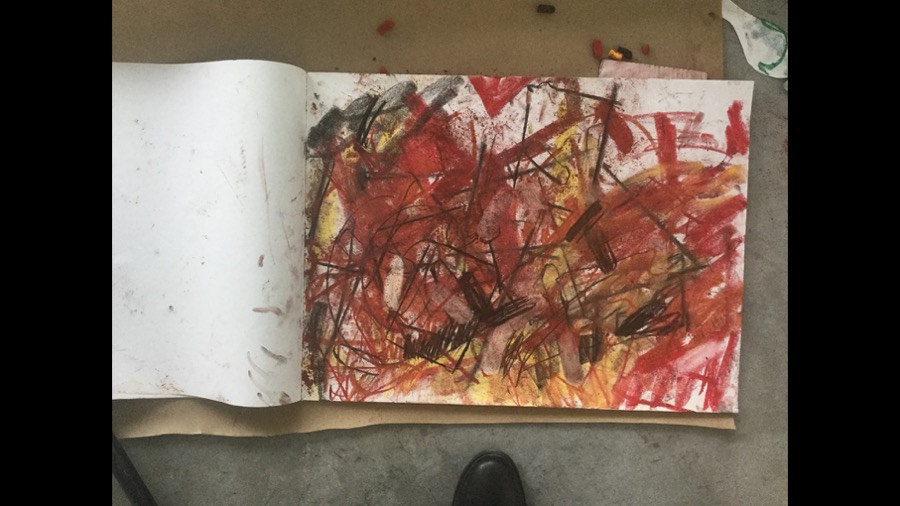
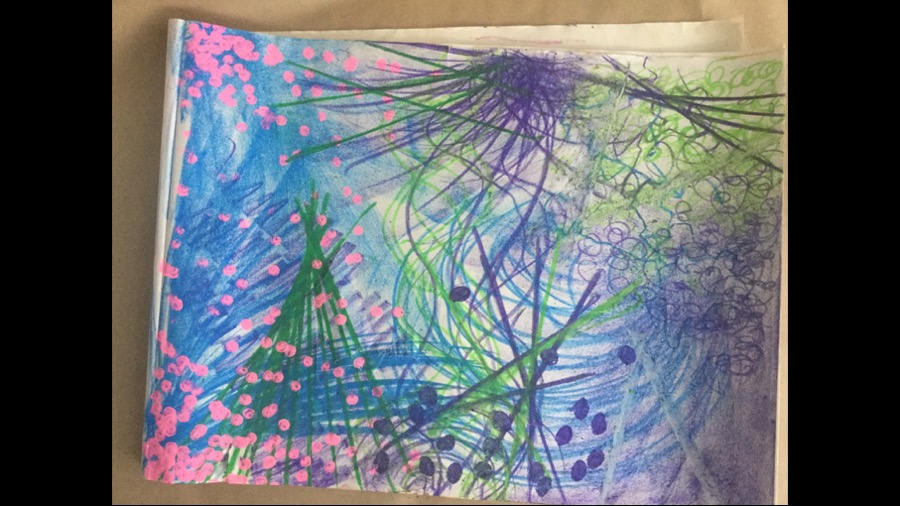
Examples of Work:
Here are some blindfold drawing examples completed by students. These examples represent only a small sample of potential outcomes for the blindfold assignment. Collectively all the examples address the blindfold assignment requirements, but the individually examples only address certain aspects of the assignment requirements.


Detail of previous image

Subscribe to:
Comments (Atom)